
Requirements
- Azure Subscription (you can sign up for free)
- Azure DevOps Account (you can sign up for free)
- Terraform Project on your repo eg. slothycode-terraform
- A storage account used for storing terraform's state
- Terraform extension which will be used by the pipelines
Overview
- Create the build pipeline to publish the configuration as an artifact
- Create the release pipeline which will be triggered when a change is commited
- Create a service principal which will be used for interacting with the Azure Subscription
Assuming all requirements are satisfied, start by creating a new build pipeline. The pipeline can be created either via the UI or a .yml which is included on the branch created for this post (link at the end of the post).
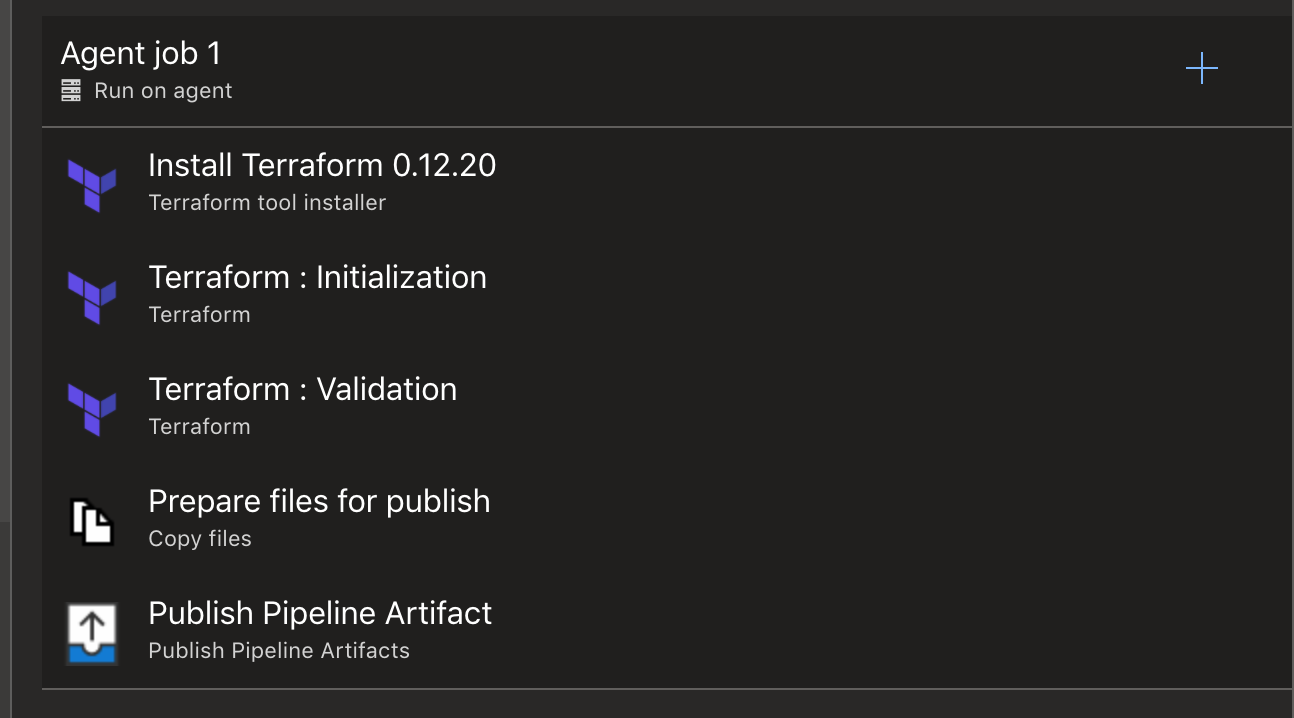
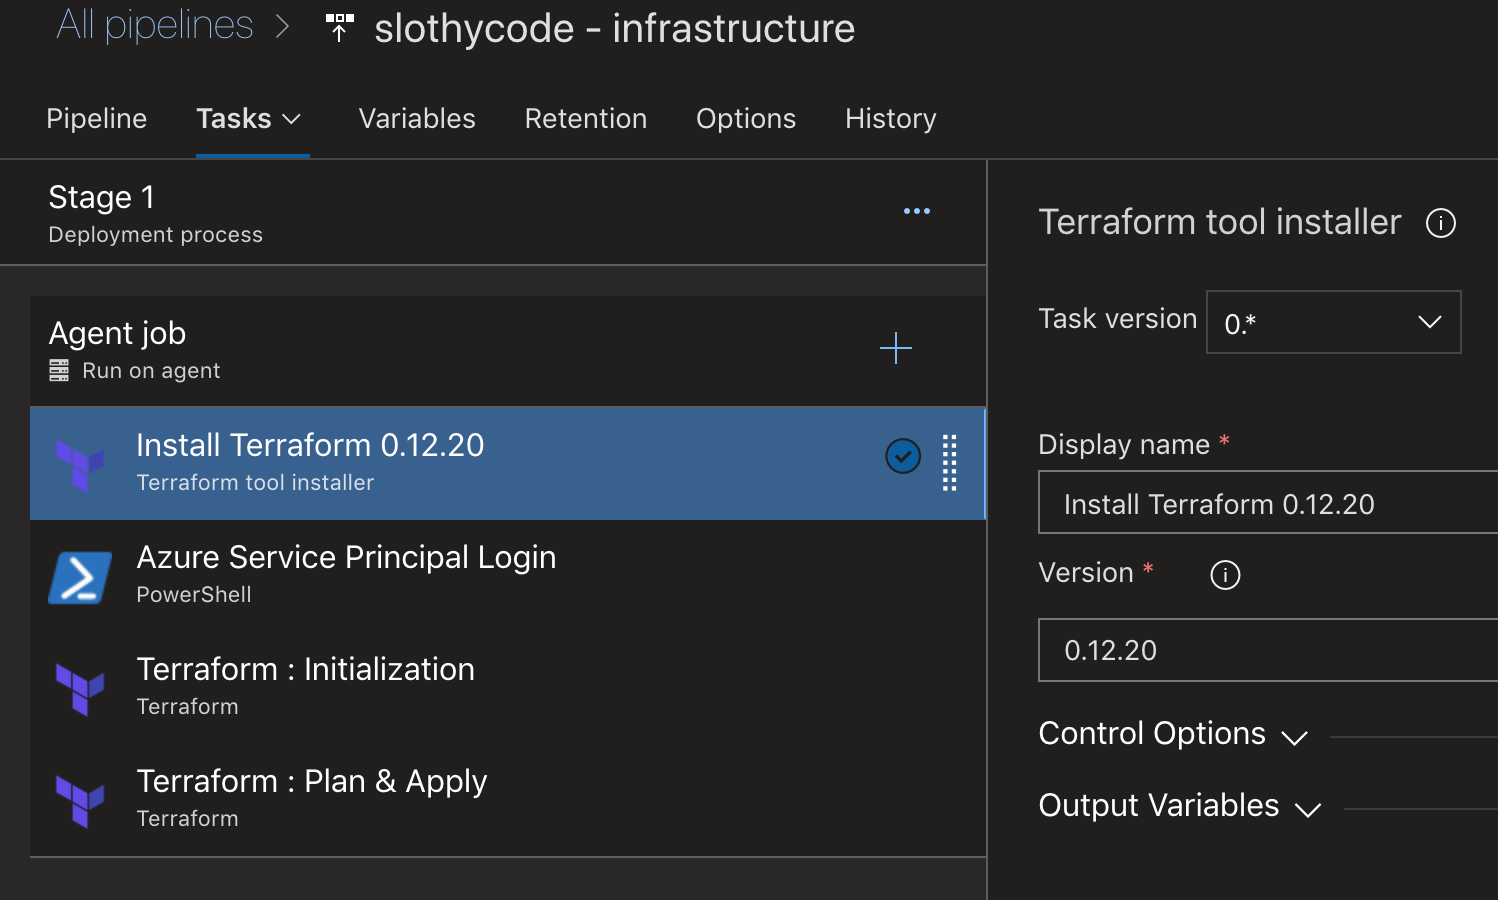
- task: ms-devlabs.custom-terraform-tasks.custom-terraform-installer-task.TerraformInstaller@0
displayName: 'Install Terraform 0.12.20'The first task is pretty self-explained, it's using a task from the Terraform extension installed to make terraform available to the agent. The next two steps initialise and validate the configuration. I could omit those steps and only use them on the release pipeline but I also prefer them on the build one as it gives me an extra layer of confidence that if something goes wrong it won't reach the release pipeline causing me all sorts of issues as corrupting the state or having to break the lease manually.
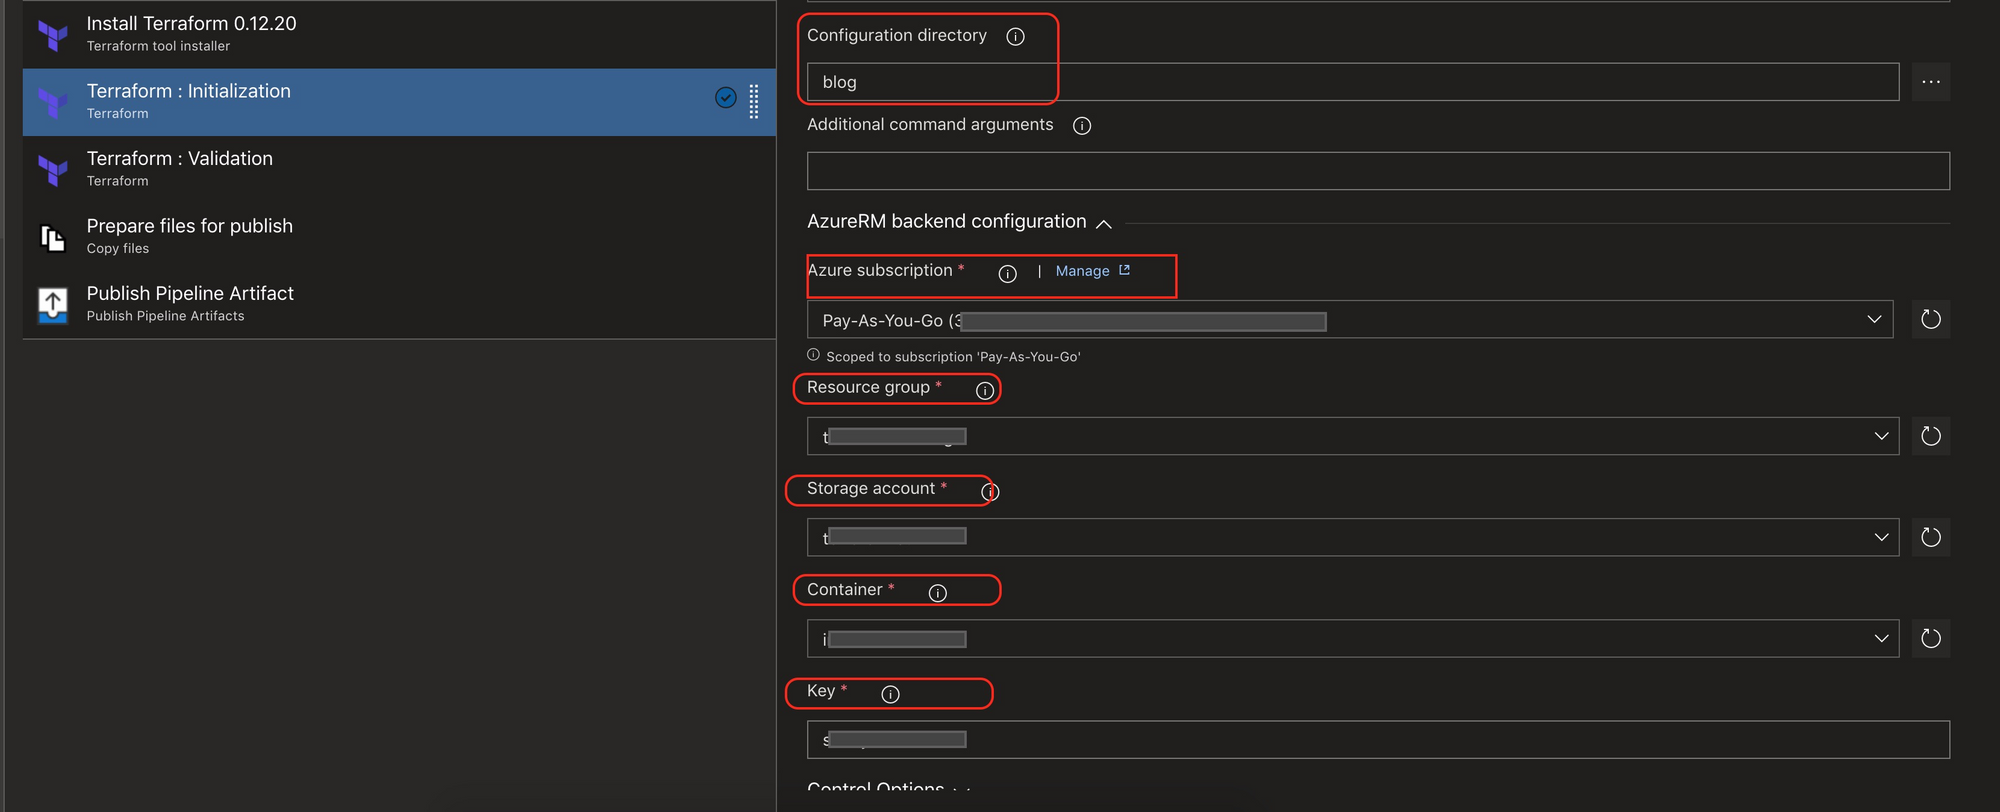
Change the initialisation and validation tasks to fit your environment, when choosing the Azure Subscription if no service connection already exists you will be prompted to create a new one.
 - task: ms-devlabs.custom-terraform-tasks.custom-terraform-release-task.TerraformTaskV1@0
    displayName: 'Terraform : Initialization'
    inputs:
      workingDirectory: blog
      backendServiceArm: '' #replace
      backendAzureRmResourceGroupName: '' #replace
      backendAzureRmStorageAccountName:  #replace
      backendAzureRmContainerName:
      backendAzureRmKey: #replace

  - task: ms-devlabs.custom-terraform-tasks.custom-terraform-release-task.TerraformTaskV1@0
    displayName: 'Terraform : Validation'
    inputs:
      command: validate
workingDirectory: blogThe next two tasks are also self explanatory and boilerplate, though what's worth noting is the Contents property for the CopyFiles@2 task, the .terraform is created during the initialisation step and includes sensitive information about the current state and it's no wise to include them so the folder is excluded from copying.
- task: CopyFiles@2
displayName: 'Prepare files for publish'
inputs:
SourceFolder: blog
Contents: |
**
!**\.terraform\**
TargetFolder: '$(Build.StagingDirectory)'
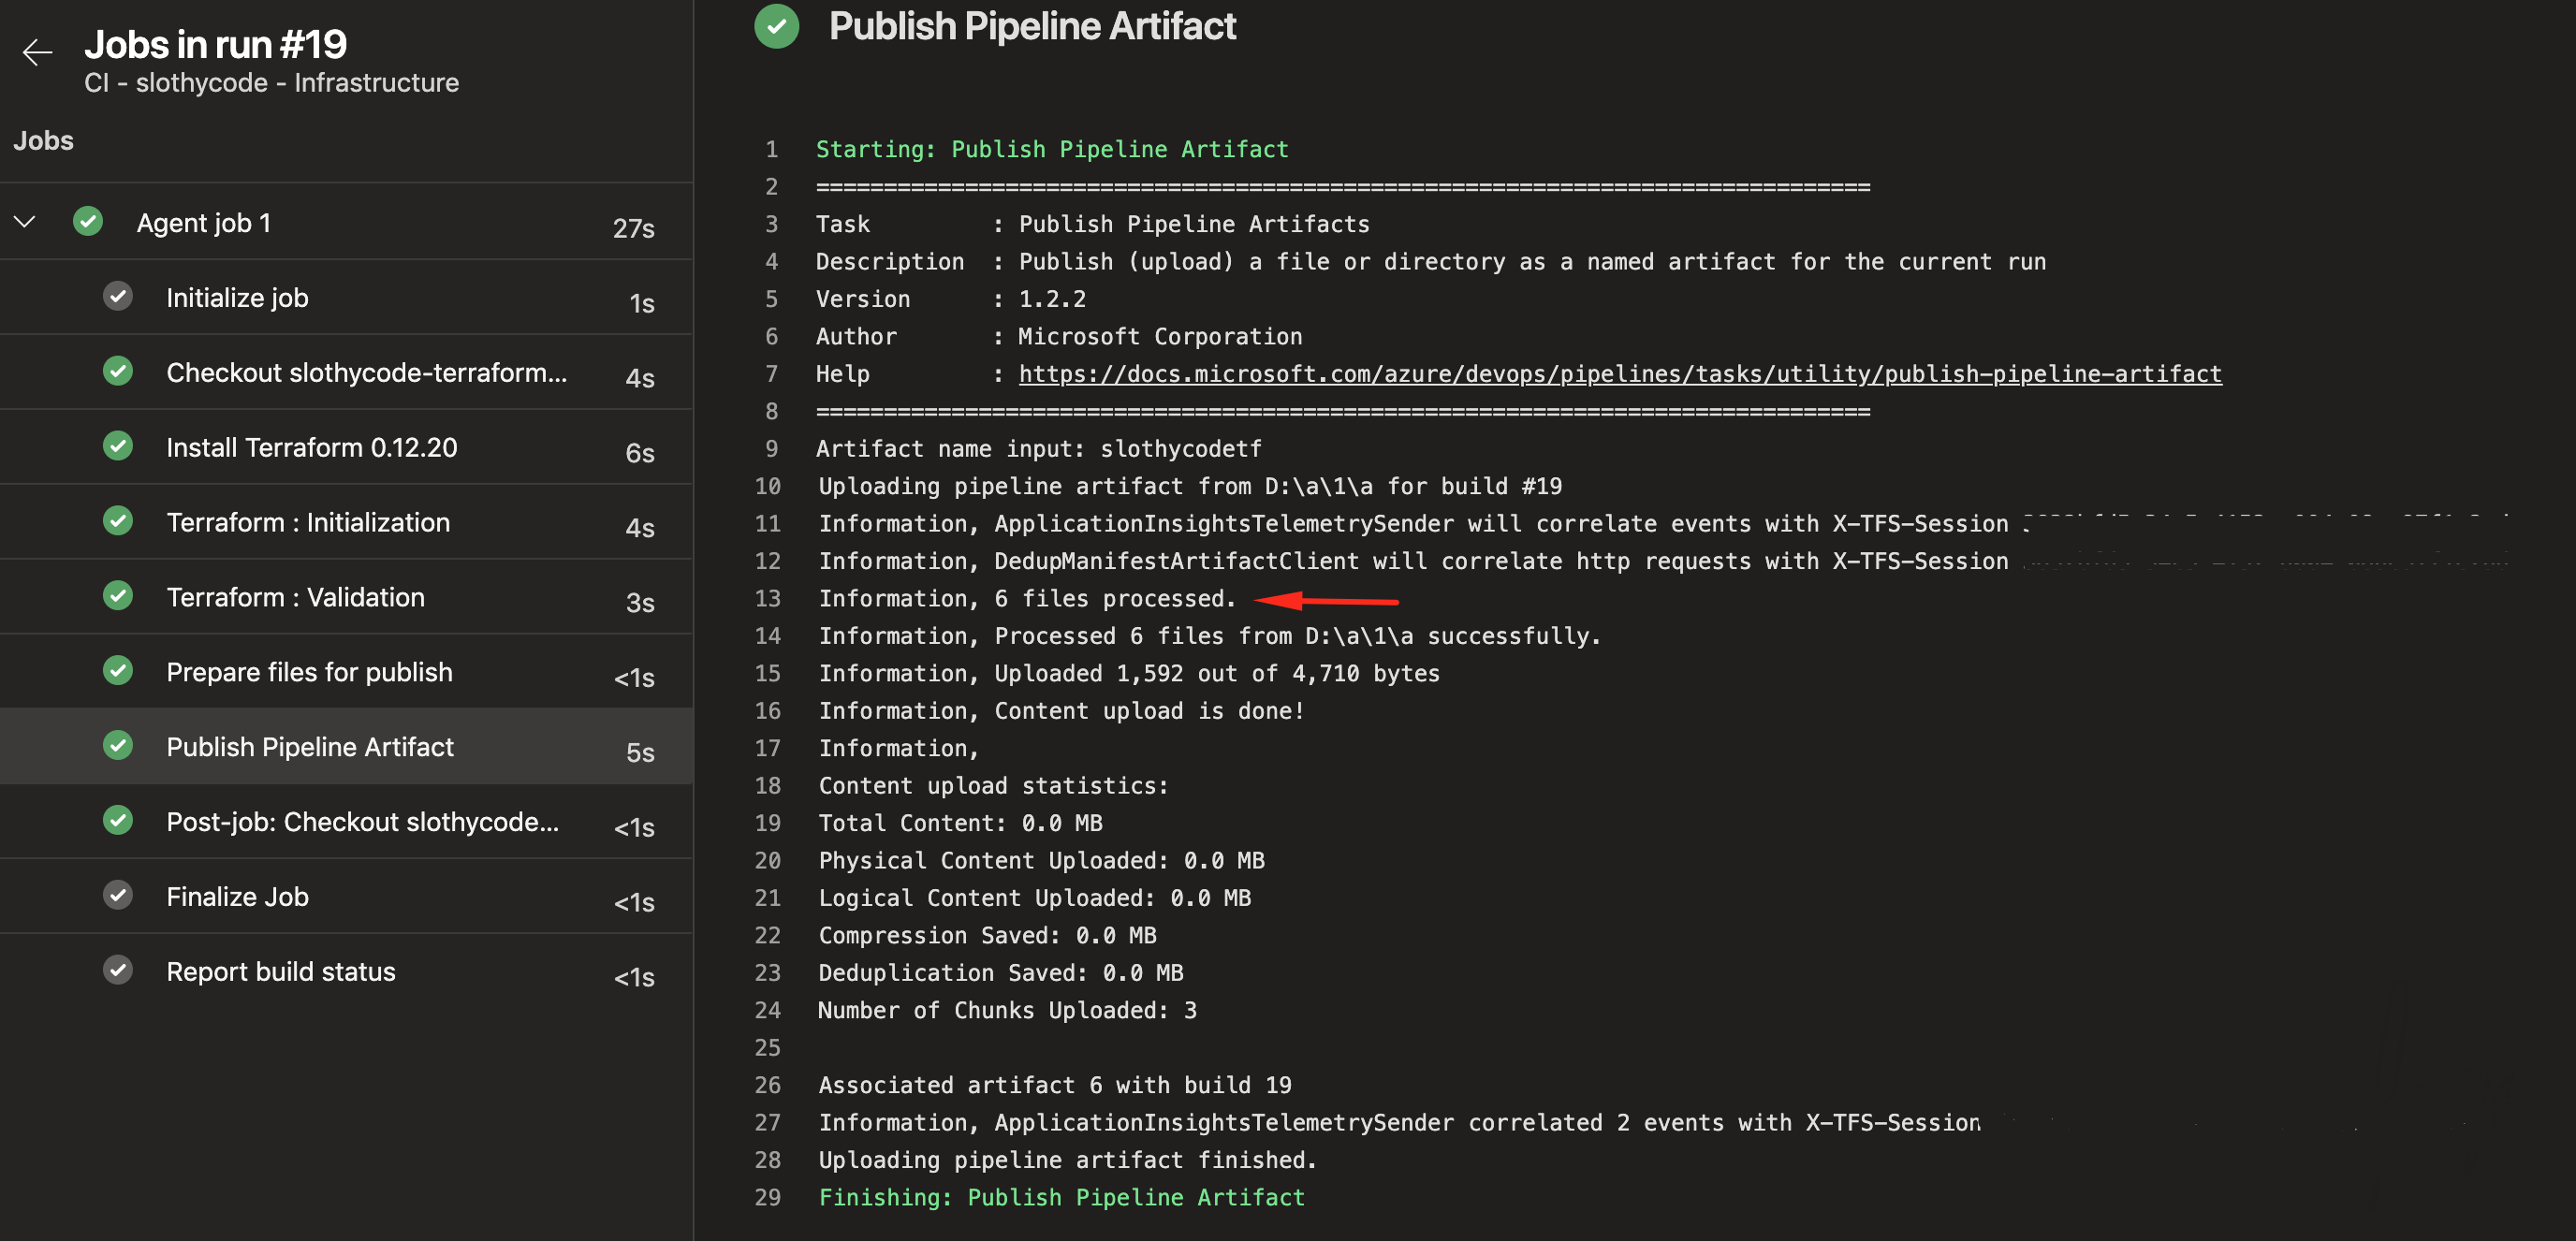
- task: PublishPipelineArtifact@1
displayName: 'Publish Pipeline Artifact'
inputs:
targetPath: '$(Build.StagingDirectory)'
artifact: #replace with name
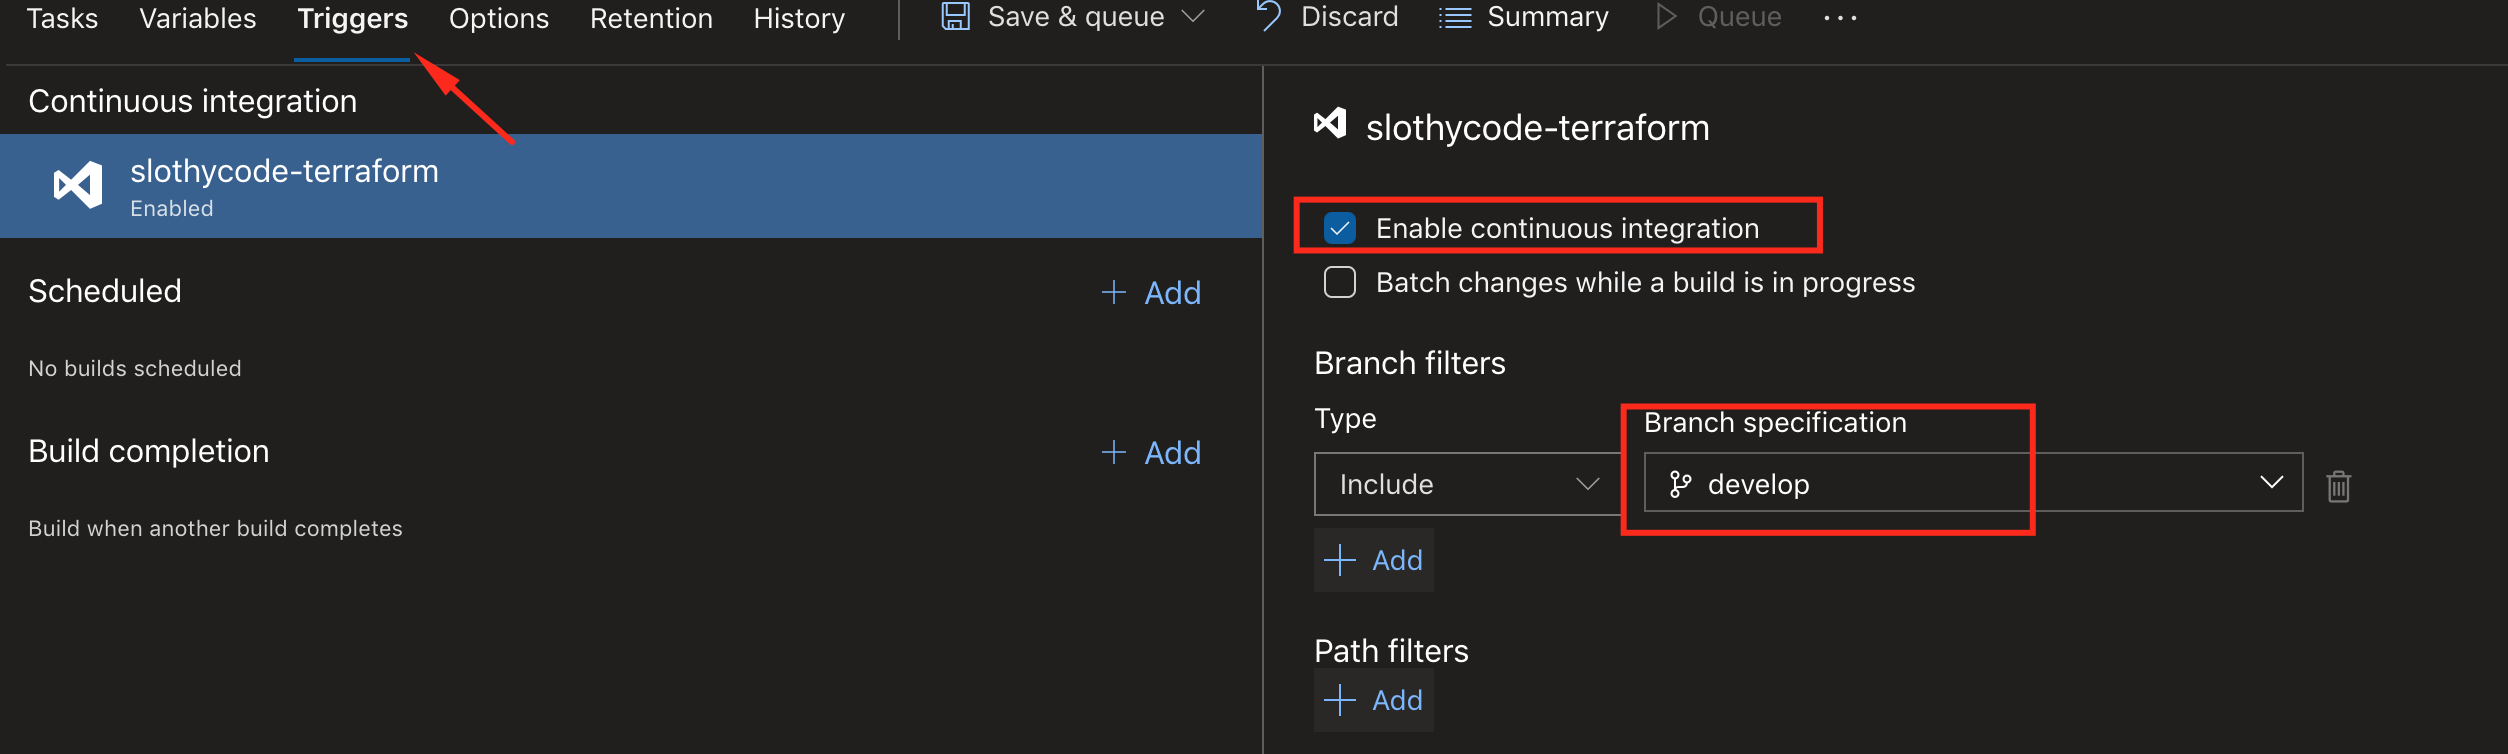
Last step is to trigger this pipeline when an update is pushed. On the pipeline creation page, click on trigger, enable CI and select the branch, save and execute the pipeline.
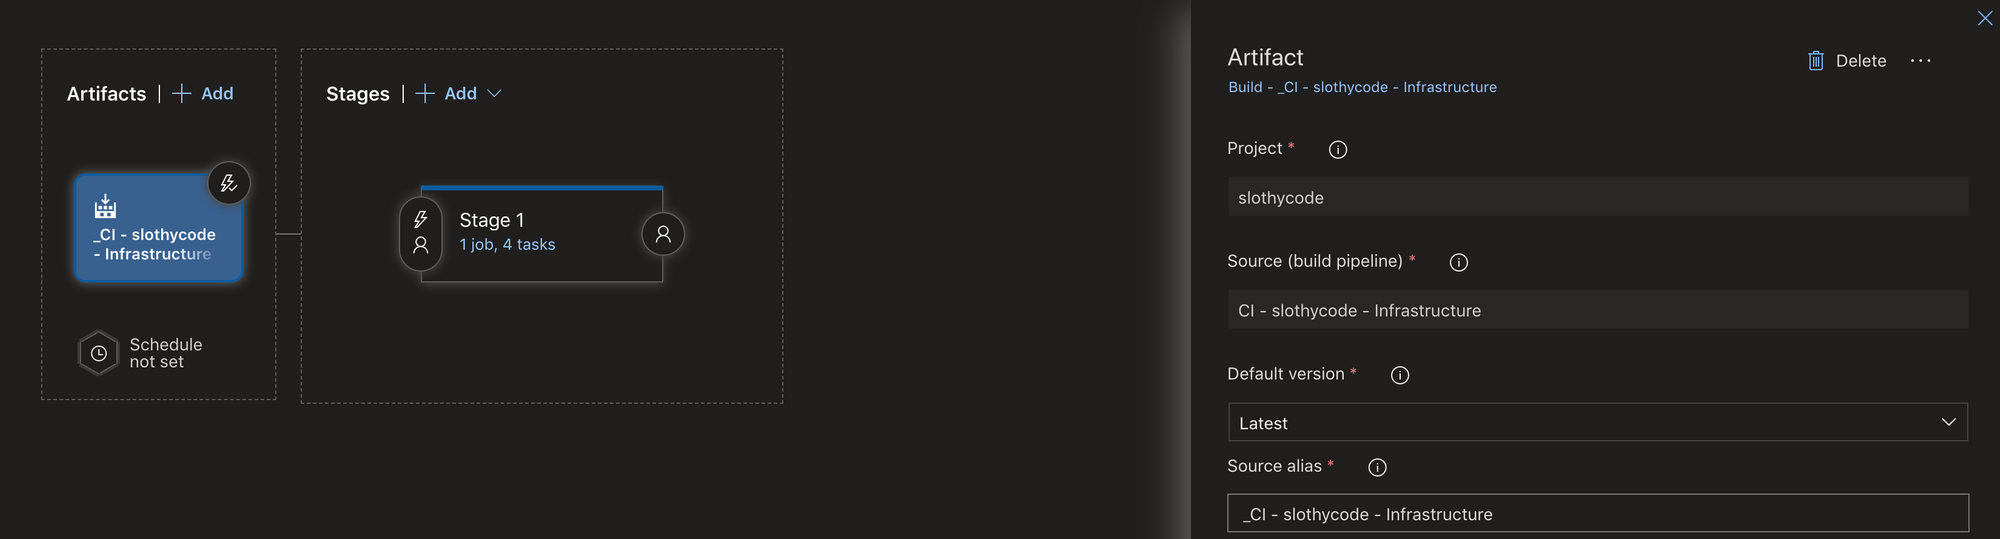
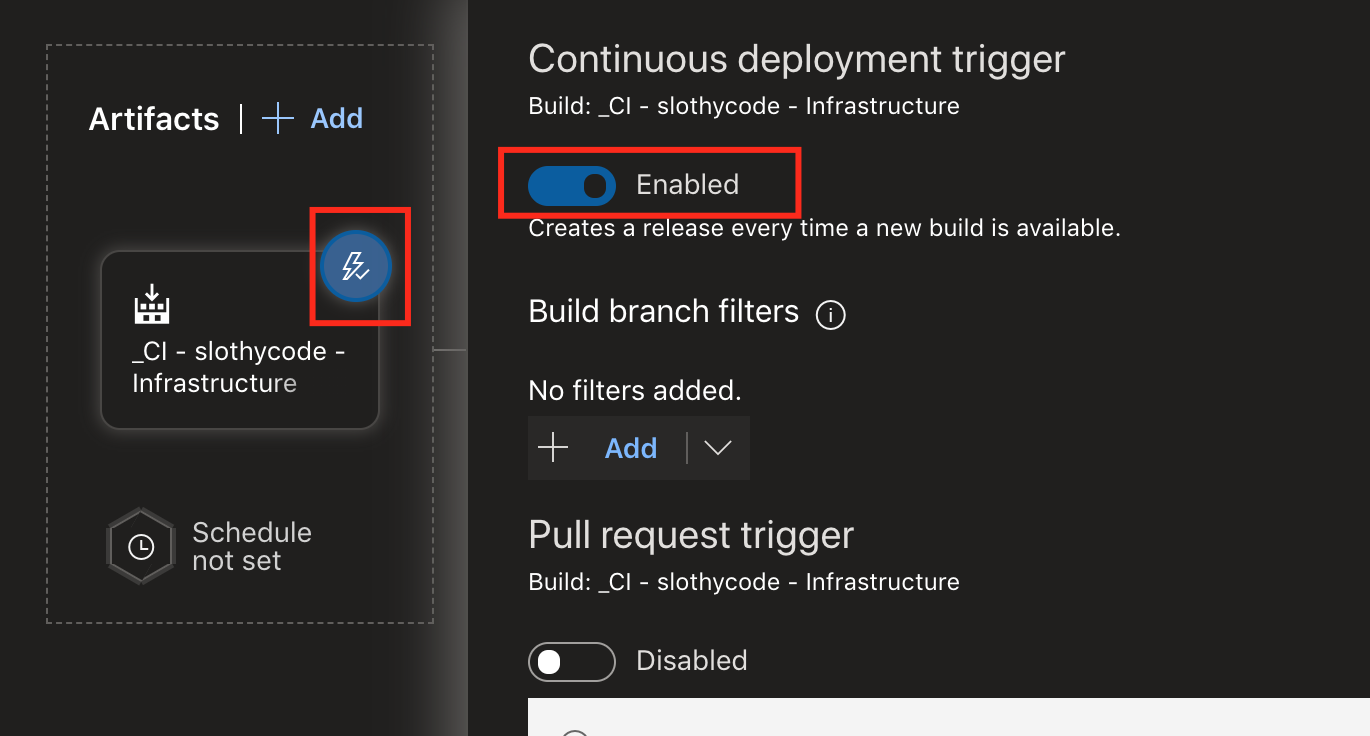
Once the build pipeline is complete, move on to creating a release pipeline. Add a new artifact based on the build pipeline, also click on the thunder icon and enable the continuous deployment trigger.
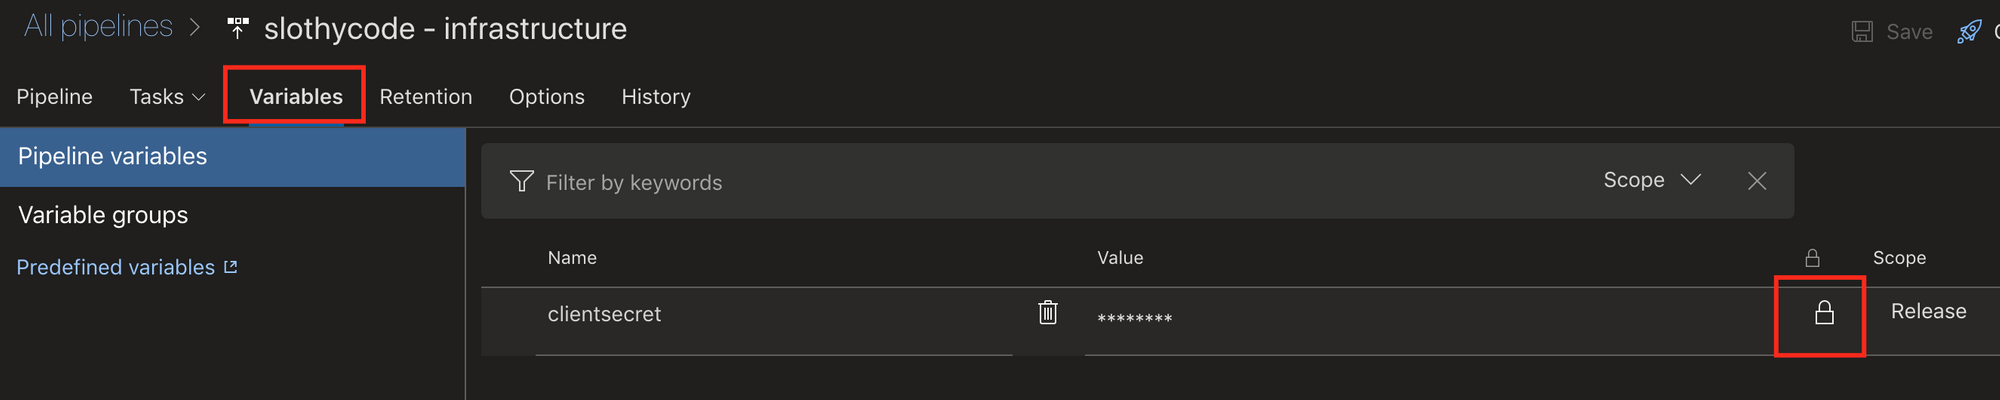
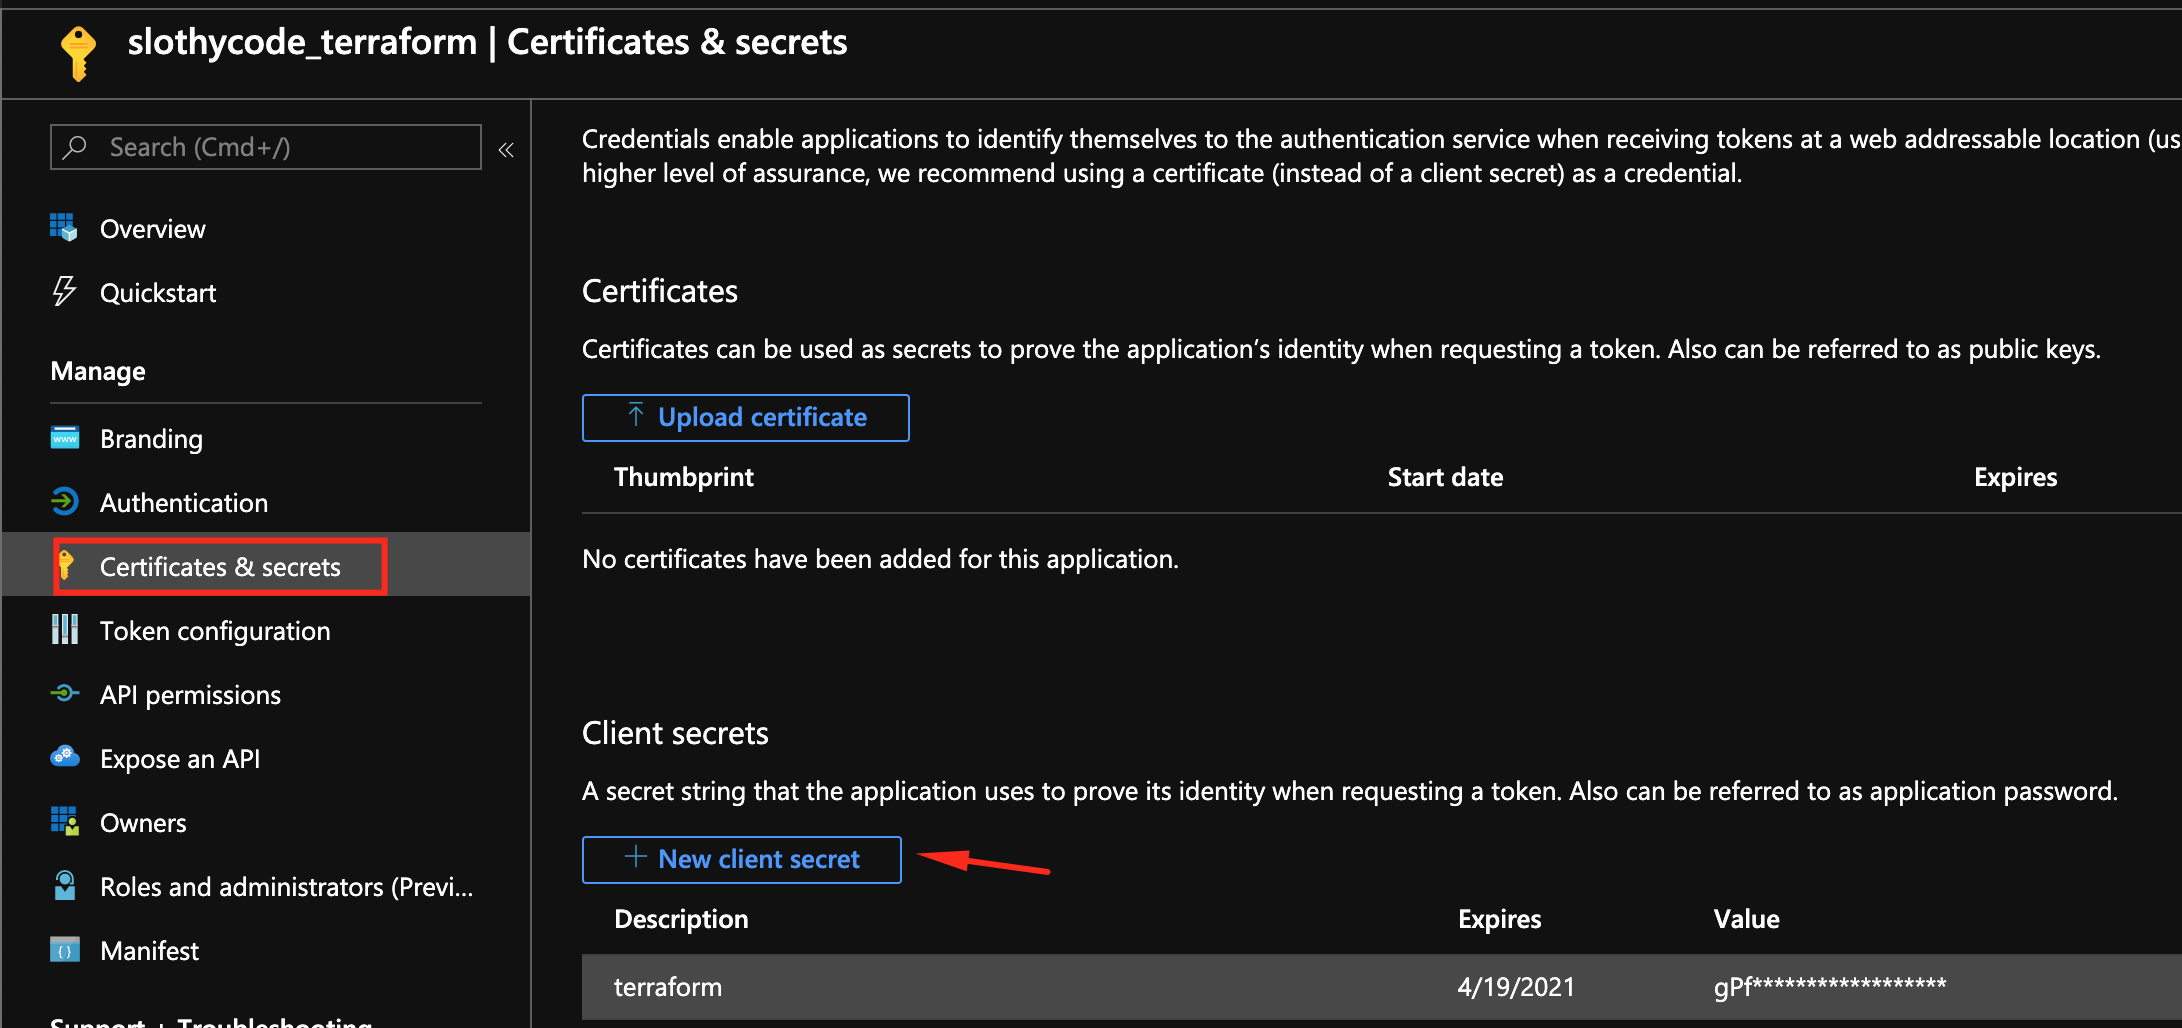
Go to variables and add a new secret variable named clientsecret. This variable will be used to store the service principal client secret.
The first and third tasks are the exact copy from the build pipeline, so lets focus on the Azure Service Principal Login which is a Power Shell task. Terraform needs a form of authentication to create / manager resources in Azure. To achieve this a service principal must be created and have the contributor role assigned. Once the principal has been created, click on Certificates + Secret menu option and generate a new client secret. Go back to the Variables tab and use the client secret as the value of the parameter.
Now you have everything to replace the values of power shell script.

steps:
- powershell: 'az login --service-principal -u <app id> -p $(clientsecret) --tenant <tenand id>'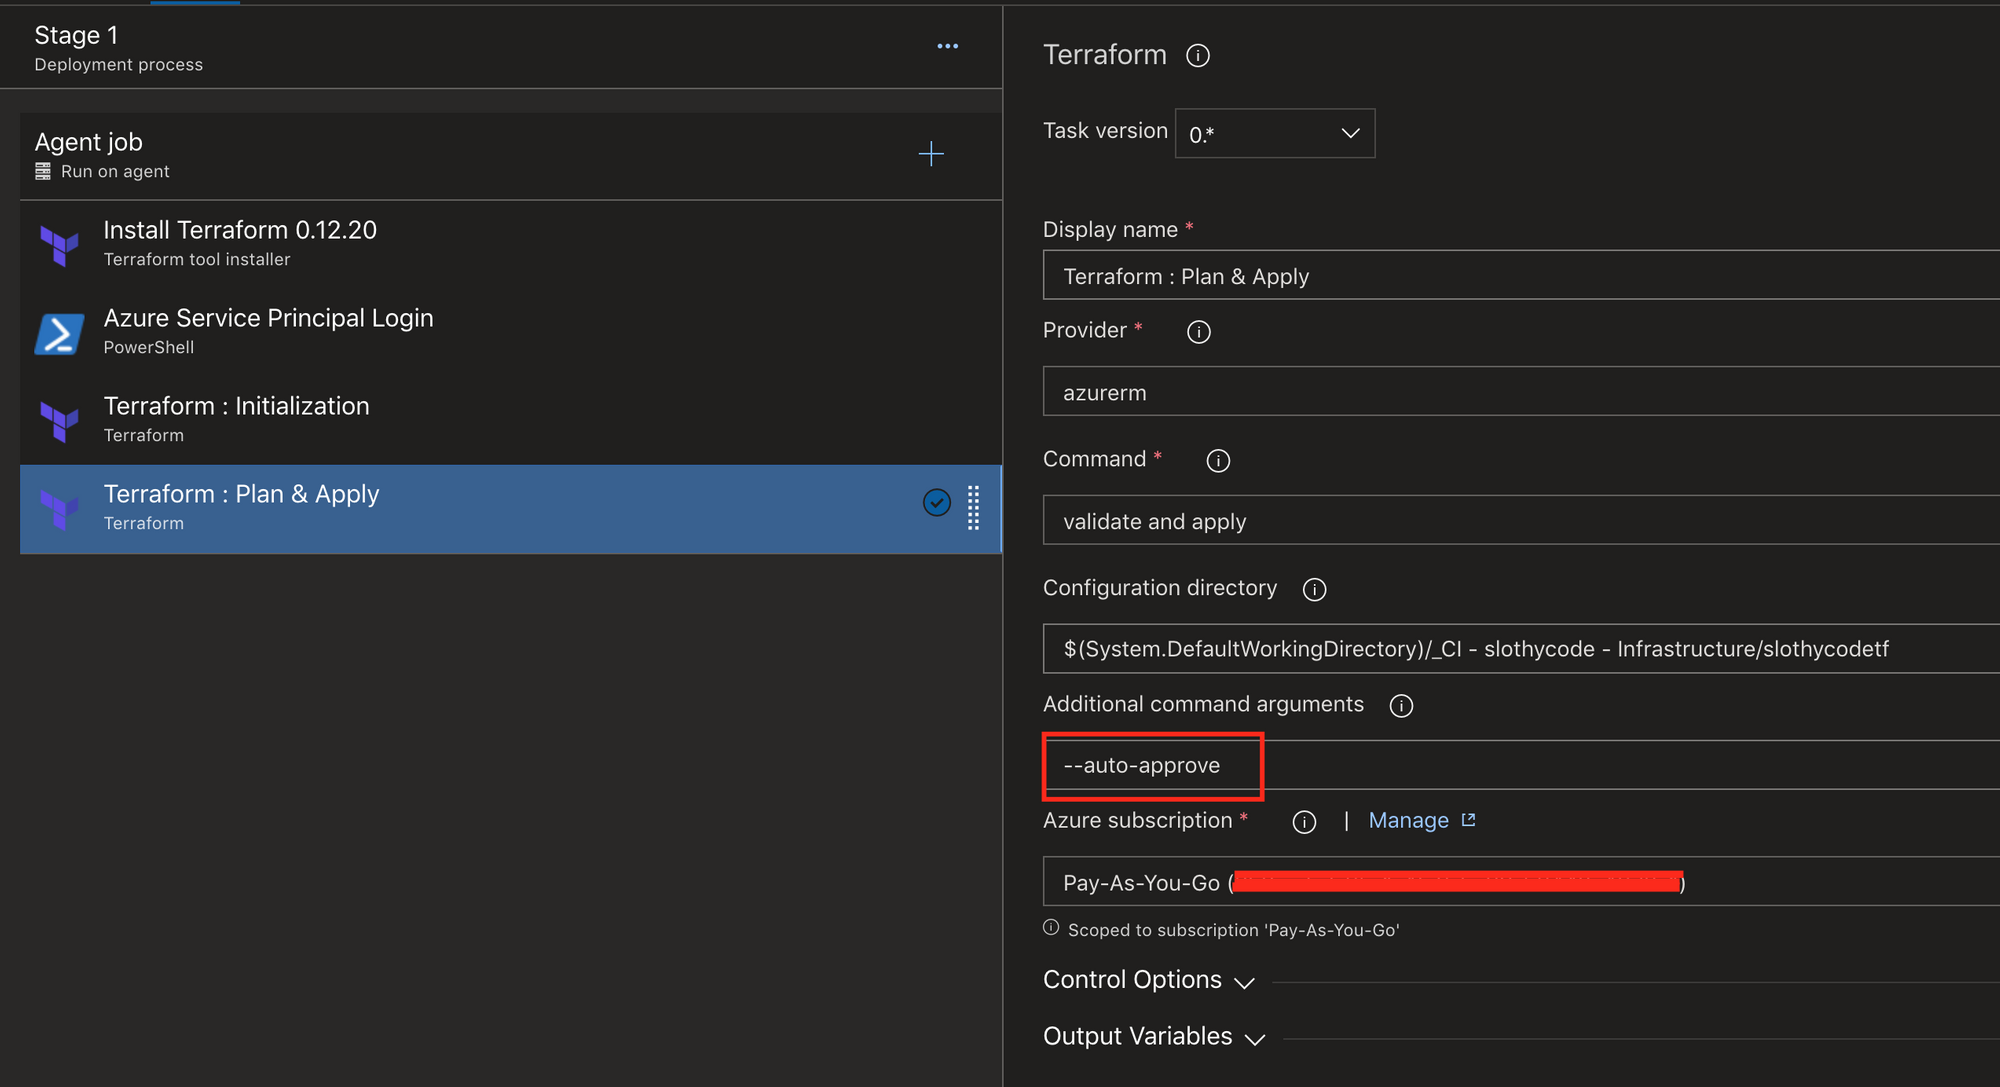
displayName: 'Azure Service Principal Login'Final step is adding the Plan & Apply task, it involves selecting the working directory from the artifact and the subscription to execute the plan.
--auto-approve is also passed as an argument. Terraform needs a final confirmation before it starts executing the plan and with this argument we approve it as we have already validated the configuration on both pipelines and are confident in it.
steps:
- task: ms-devlabs.custom-terraform-tasks.custom-terraform-release-task.TerraformTaskV1@0
  displayName: 'Terraform : Plan & Apply'
  inputs:
    command: apply
    workingDirectory: '' #replace
    commandOptions: '--auto-approve'
    environmentServiceNameAzureRM: '' #replace
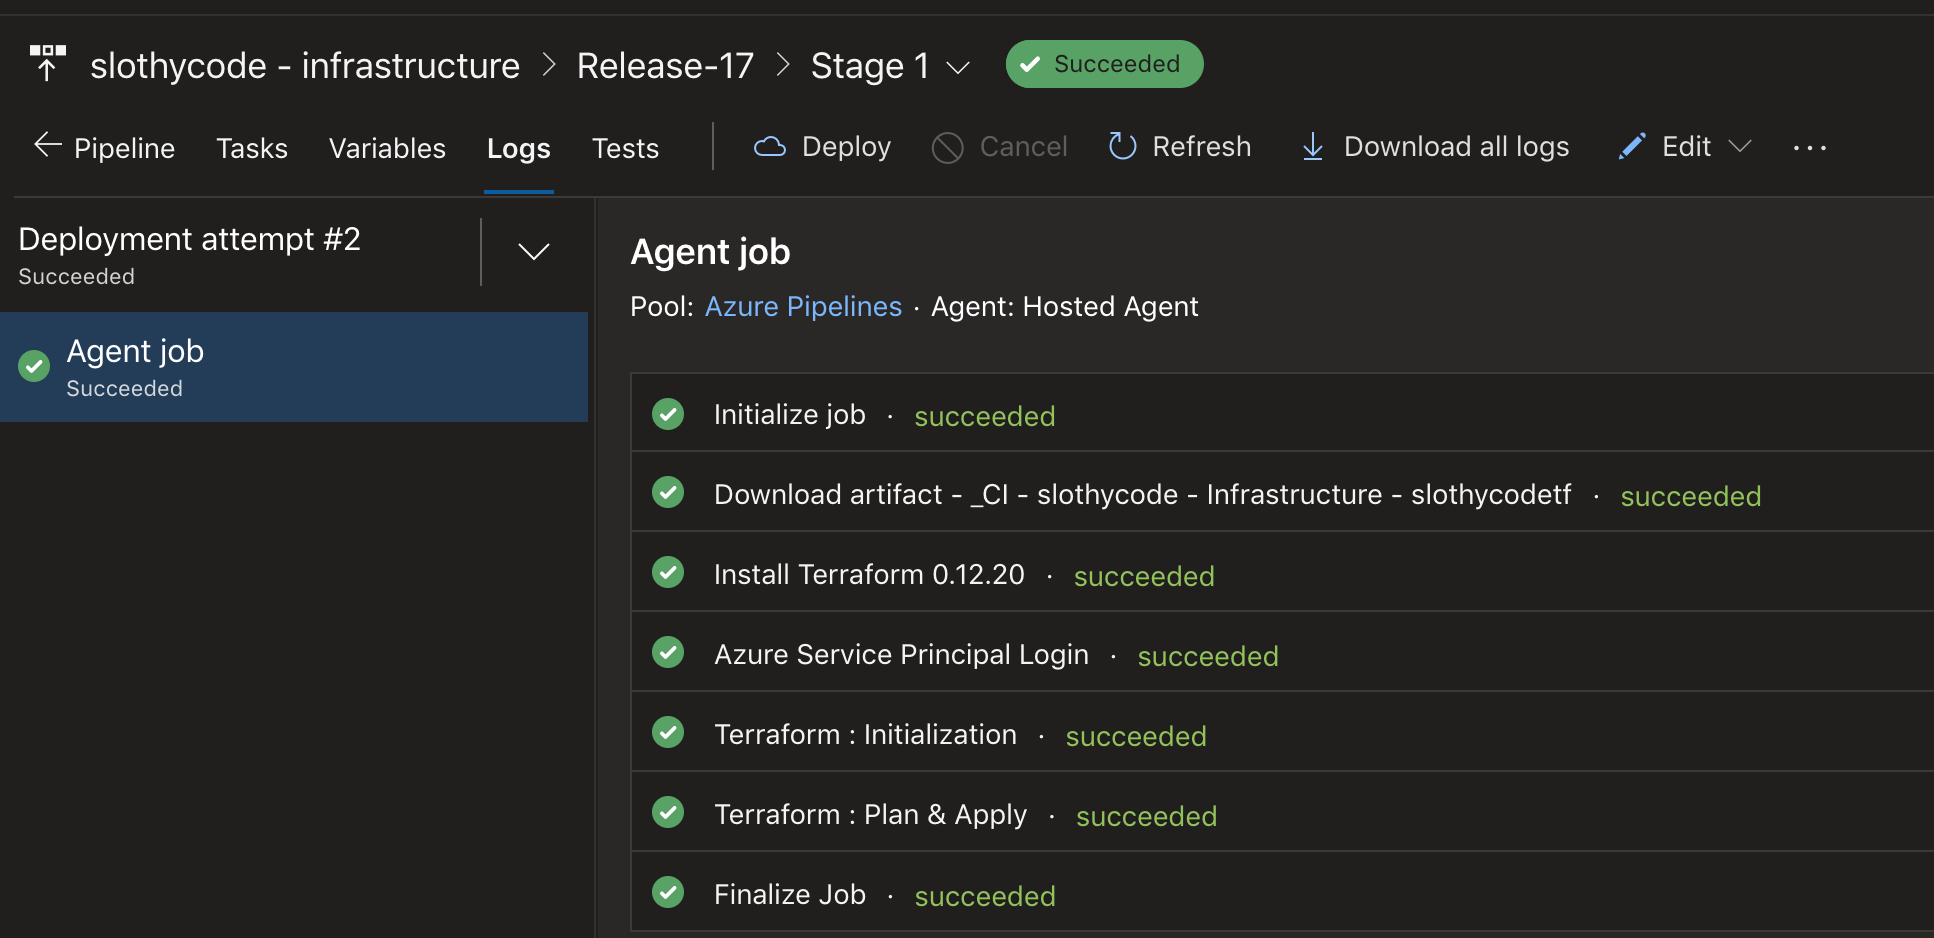
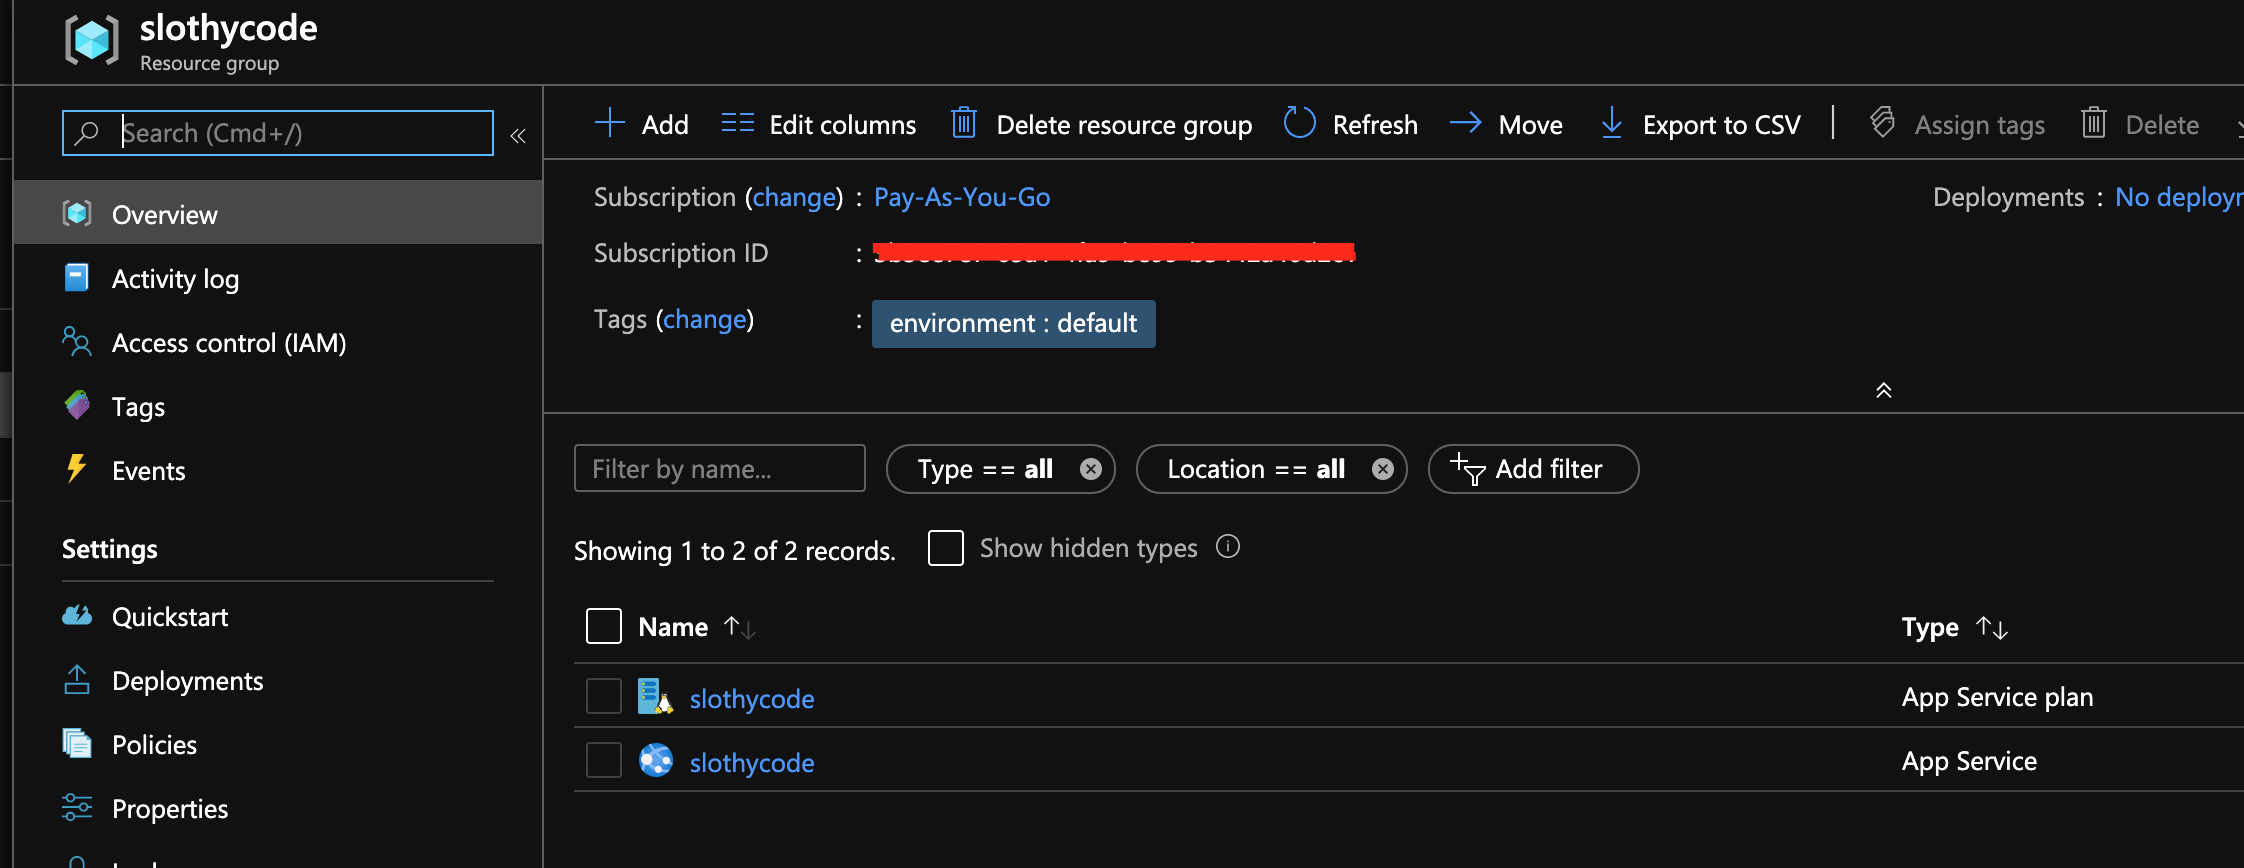
Finally save and execute the pipeline and once completed visit the Azure Portal to validate, though it's not needed.

Also here is the link the terraform project used
Thanks for reading :)
Comments